Ho ho home with kids? Get crafty!
The countdown is well and truly on, and the silly season is in full swing. Schools and kinders seem to be finishing later this year than usual, but if your little ones are still looking for some festive crafty-ness to carry on with at home over the next few days then look no further. In a week that tends to be overwhelmingly tinselly, glittery and, let’s face it, rather plastic-y, it's sometimes lovely to pull out a few of the old fashioned, low-tech, tried and true Christmas tricks that we knew as kids. The type that require the kinda cheap and easy materials that you probably already have in the cupboard. And the type that are easy to share and fun to create together.
Here are a few of my favourites things...
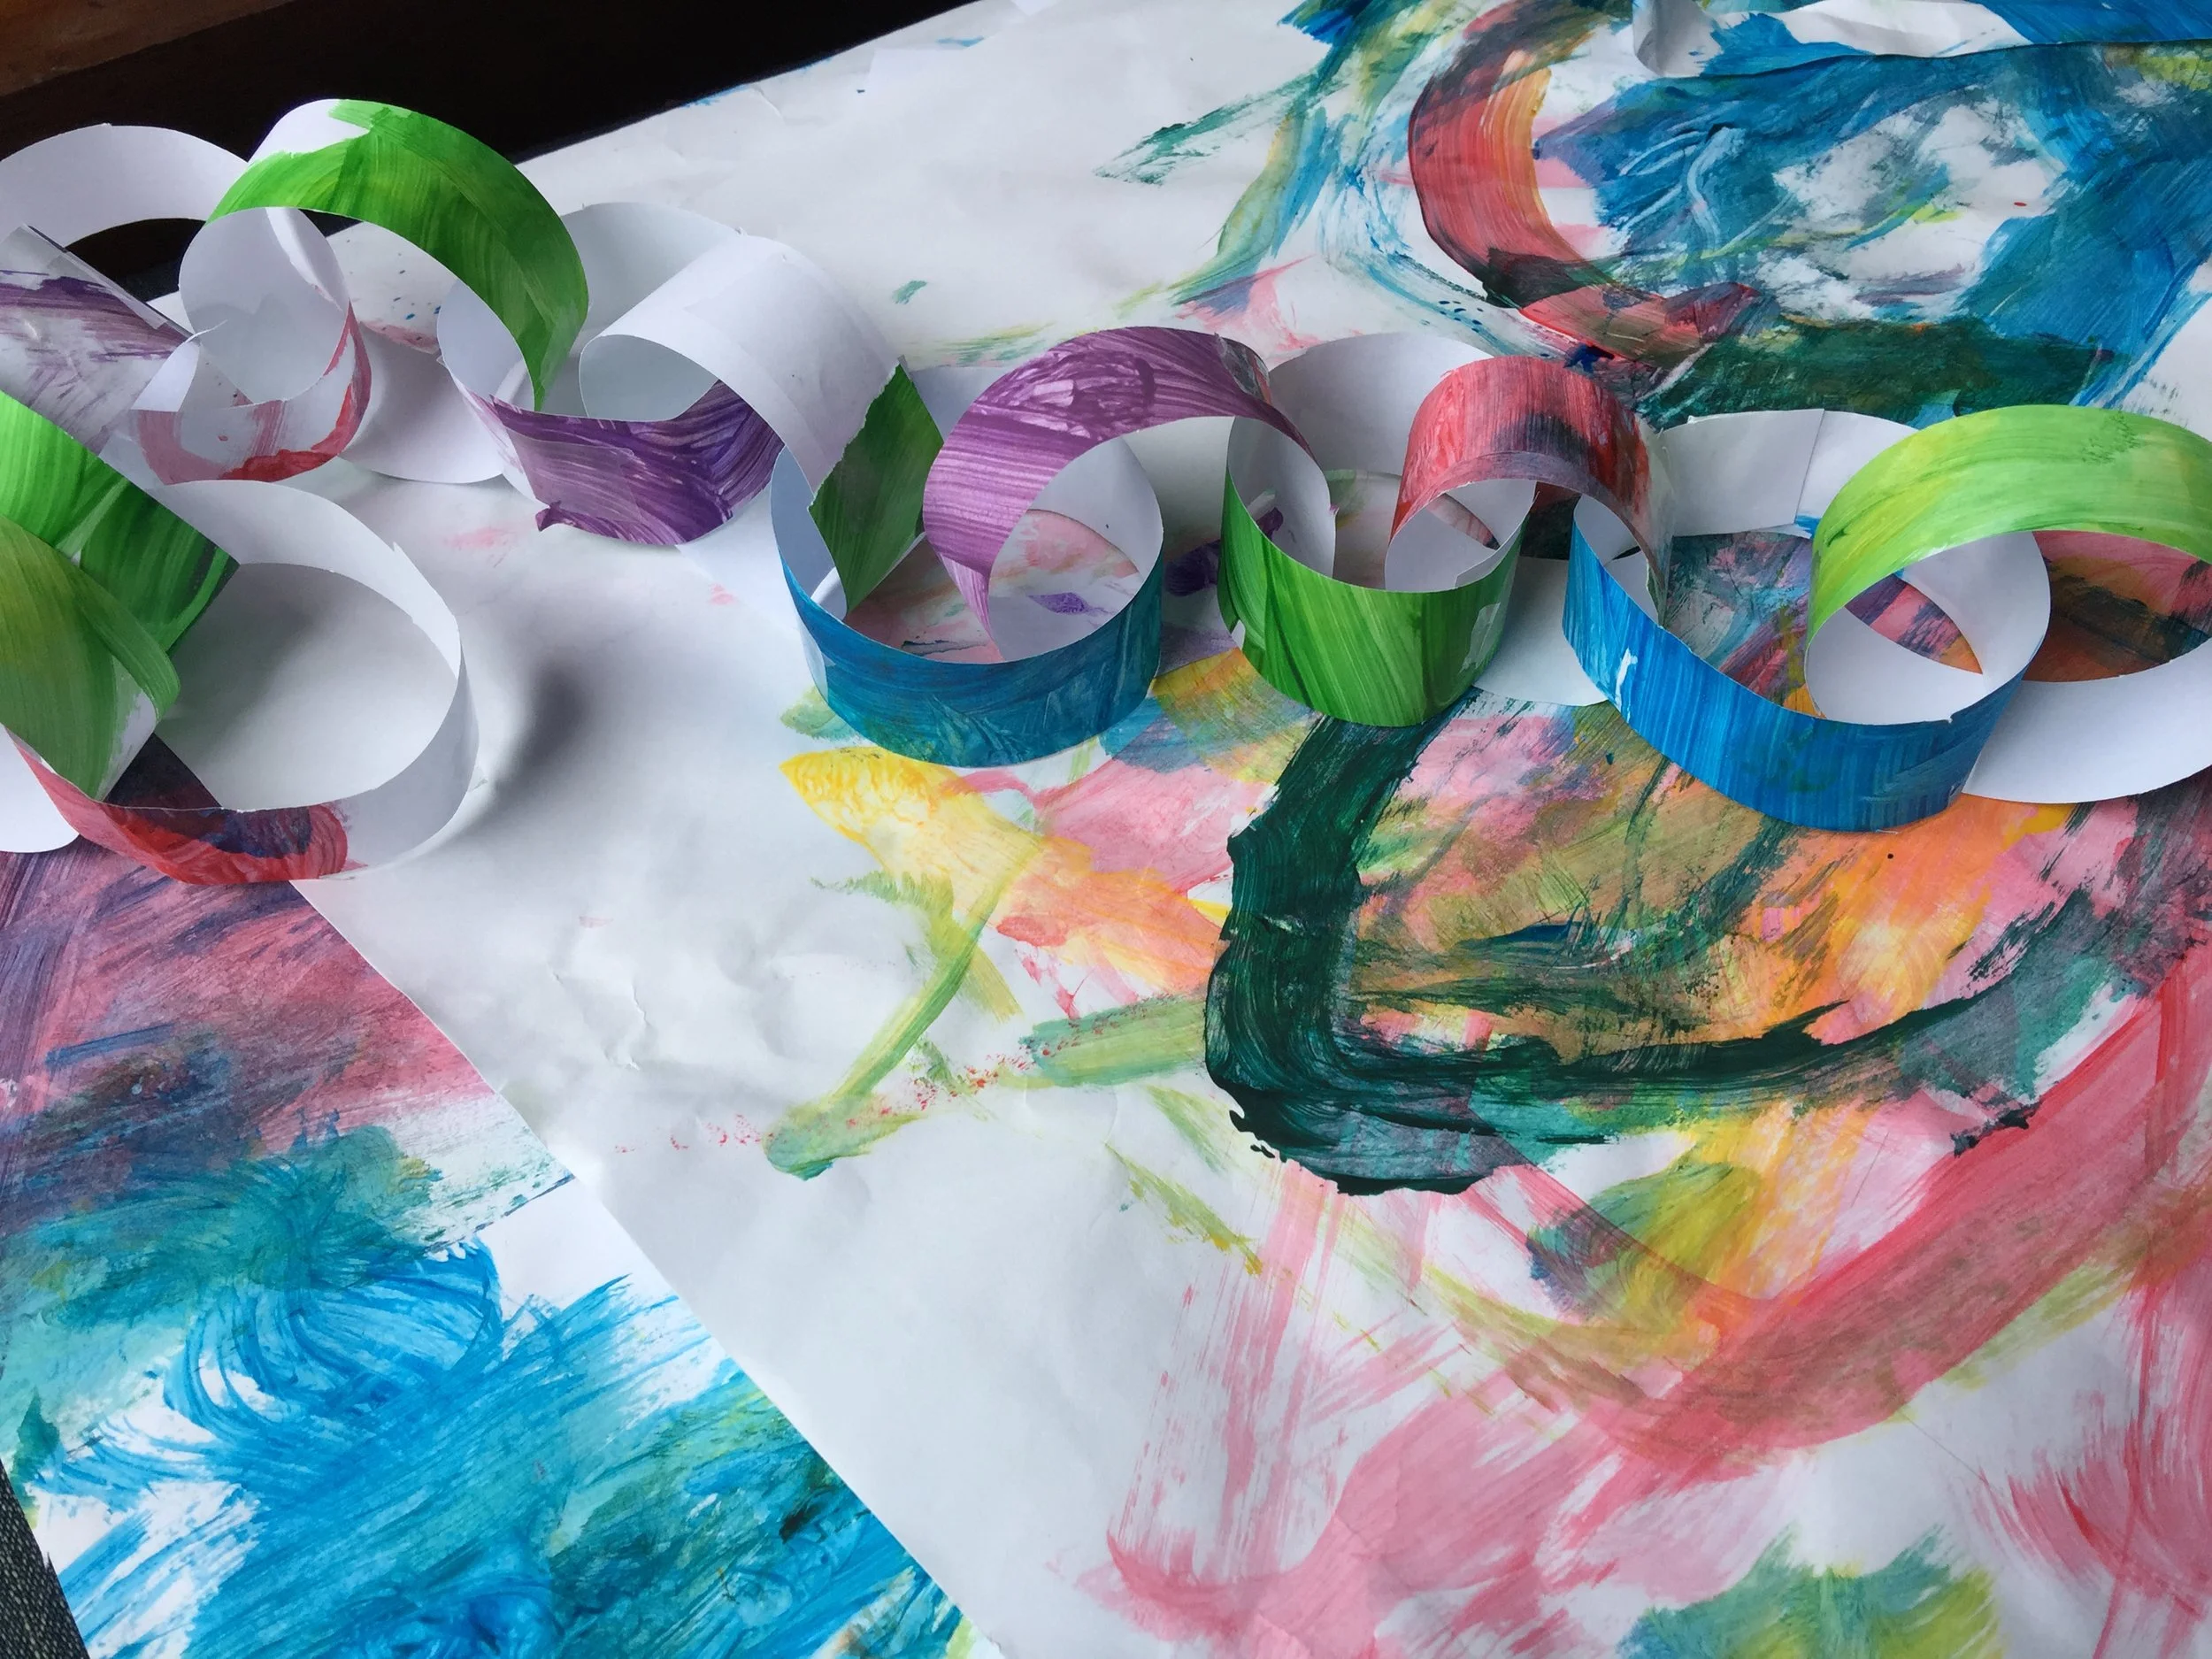
Paper chains
A true festive classic, harking back to a time when life was simple and trees were tinsel free. Paper chains are super easy and so repetitive that they are perfect to make with your kids - you may be surprised how quickly they grow. Don’t rush out and purchase fancy-schmancy paper until you've first checked your pile of kinder paintings – most artwork looks great re-purposed into chains. Otherwise you can use copypaper, magazines, catalogues, in fact any paper that isn't too flimsy. Pre-cut strips about 2cm wide and 20cm long, then form into loops fixed with tape, linking them together as you go. It’s easier for little fingers to use a dispenser to cut pieces of tape, or better still for you to pre-cut pieces of tape and line them up them along the end of a bench so that little fingers can pick them up easily without getting into a sticky tangle. As a kid I made metres and metres of chains which I stored in a Christmas box, and pulled out every year to extend, and drape around my family home. Ahhh, memories...
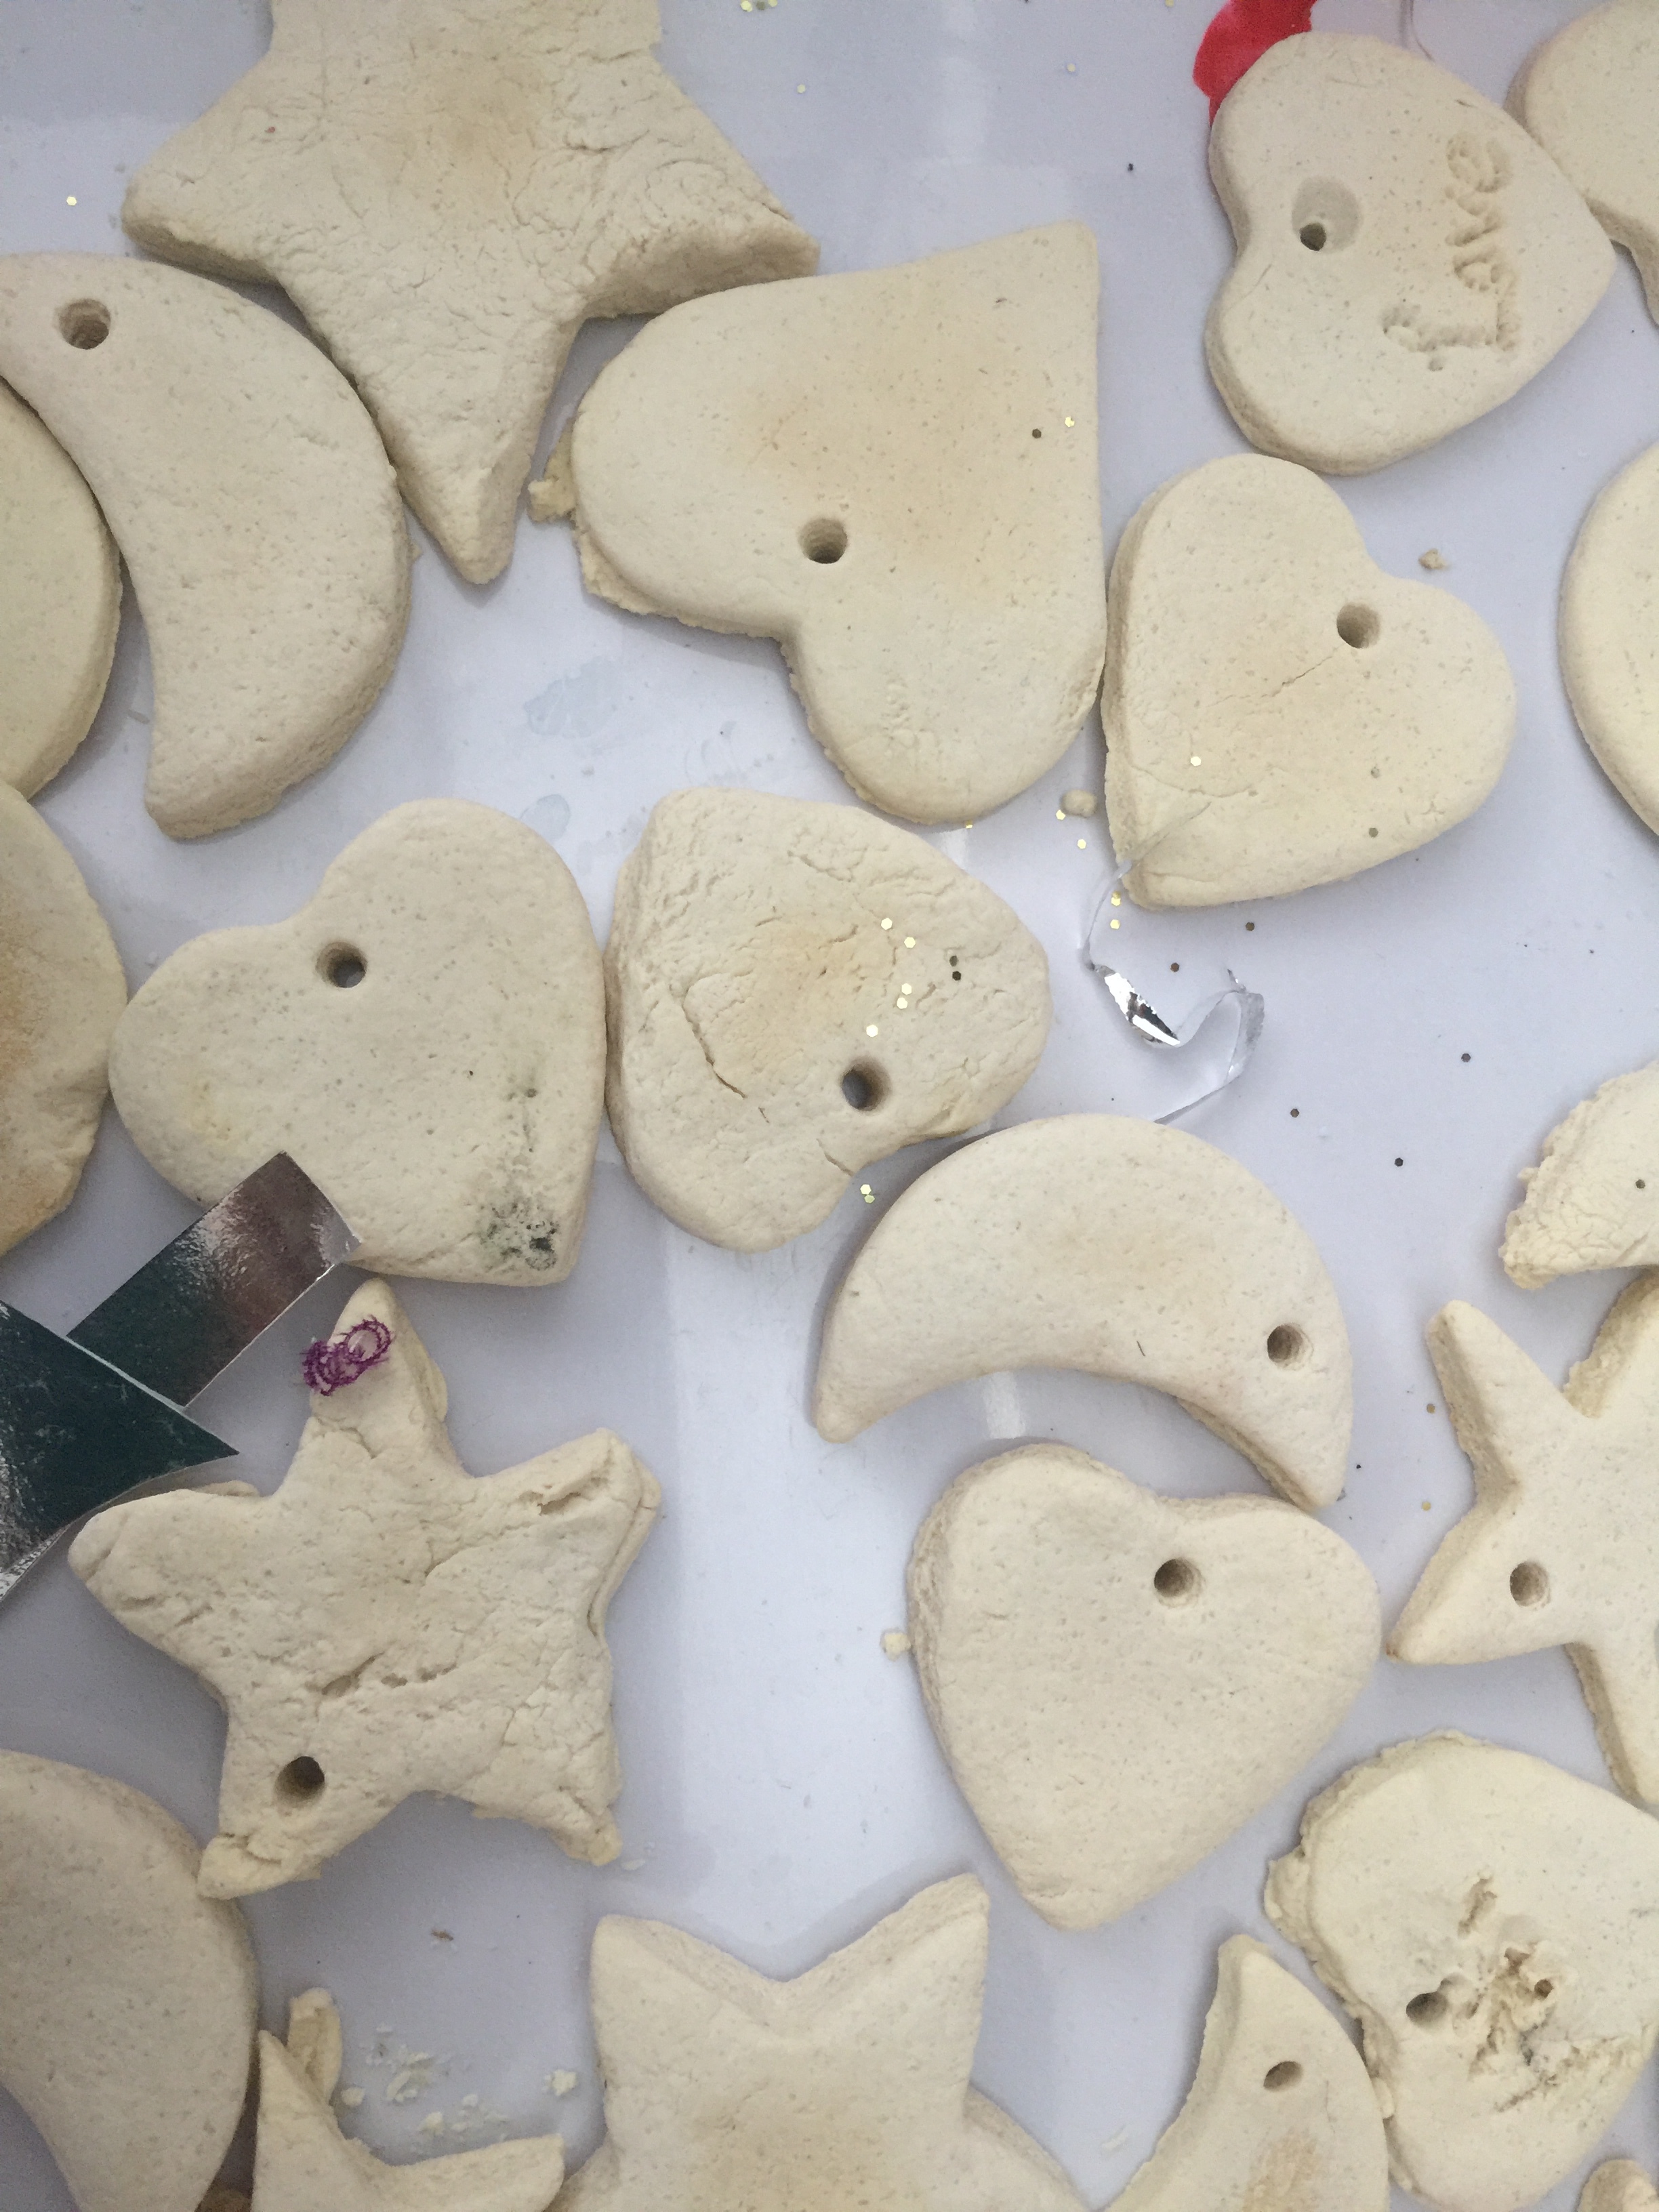
Salt dough decorations
Salt dough is as simple and sensory as playdough, and such an easy option for making seasonal decorations to hang or use as gifts. Children delight in the rolling and cutting, it’s lovely and squishy. To get started you'll need the following:
1 cup plain flour
1/2 cup salt (fine not course)
1/2 cup water (or more as needed)
Preheat oven to 180C. Combine both dry ingredients in a bowl, add water and stir well to make dough. Flip dough onto a bench and use a rolling pin to roll it less than 1cm thick. Use cookie or playdough cutters to make simple shapes. Poke a neat hole at the top of each using a drinking straw. Place shapes onto oven trays covered with baking paper and cook them for two to three hours, or until completely dry and evenly pale. Turn them once while baking, then remove and allow to cool completely.
Once baked hard they can be painted and decorated. Tip: if you have no paints handy use nail polish. Thread string or ribbons through the hole and give as gifts (or use to decorate gifts). I still have some made almost 20 years ago! How do I know? We scored the year onto the back when we made them, always such a nice thing to do when you're making creations with the kids.
Paper bag stars
These wonderful stars came to my attention only a couple of years ago, and I've been mad about them ever since. Super easy, you need only 7 paper bags, a glue stick and a pair of scissors. They're made extra "spesh" if you commission the kids to decorate the bags first – if they paint you'll need to allow time for them to dry thoroughly, otherwise use pastels, pencils or felt pens for a great speedy option.
Here's how you do it:
- Decorate 7 identical paper bags, focussing on the edges rather than the middle.
- Place one bag on a bench with its open end facing you and draw a letter T onto it with a gluestick. Lay another bag facing the same way on top of the glued bag to cover it neatly. Apply pressure with fingers to ensure bags stick together. Repeat until all 7 bags have been glued together into a neat pile. Cut the corners off the open end of the pile to make a point.
- At this stage the bags will be hinged together by glue across the sealed end, and glued down their middle. Use your hands to fan the open ends into a circular shape - voila!!!
- Glue the final open sides together to seal the circle and form a star.
If all that's not clear, see my diagram below. If you're still stuck try Googling it... there are a few videos on-line and sometimes the easiest way is to watch someone else actually making it.
Happy holidays!!


